Jahazi

Jahazi

Introduction

"If you want to build a ship, don't drum up people to collect wood and don't assign them tasks and work, but rather teach them to long for the endless immensity of the sea"
Antoine de Saint-Exupery

With that in mind one may think that anybody with a passion for the sea can build an ocean going yacht. But be warned! It is not something that can be taken lightly. It takes time and dedication.This project was started in 2004 with the purchase of plans for the Didi 34. Although almost finished, it is still ongoing.
Showing posts with label 2009. Show all posts

Friday, 31 July 2009

Side skin (2009)

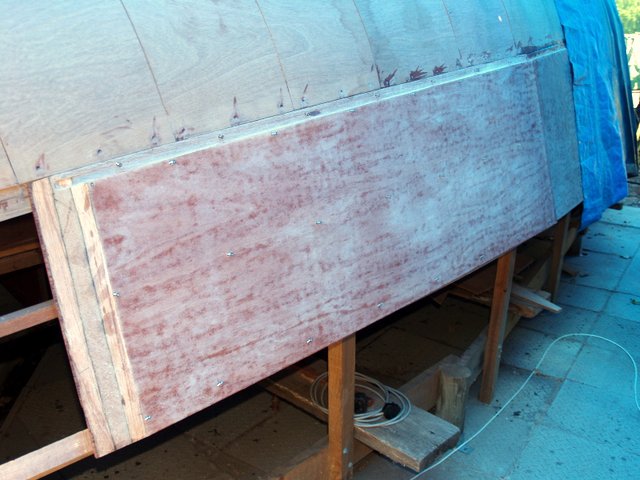
I started on the side skin May 2009. As was suggested by the building guidelines, I started at the bow and worked aft. All my joints, as with the bottom skin panels, were scarfed at a 1:8 ratio. The sheets were all glued to all contact surfaces on the sheer clamp, stringers, tangent stringer, bulkheads and any joinery that was installed by this time. Stainless steel fasteners were also used at a spacing of 150 mm on the stringers. The front panel was larger than the plywood sheet size. Therefore I had to insert a piece doing a scarf joint. By the end of 2009 I was finished with the side skin after 114 man hours. Progress was slow this winter. For example, during August and September I could only work for 13 hours because of our winter rains.
The small piece I had to scarf into place 


Notice the rebate where the next layer of the radius will overlap the joints.

Thursday, 30 July 2009

Radius skin; first layer (2009)

The radius must be done in two layers of half the thickness of the side panel sheets. Because the second layer overlaps the rebates in the edges of the side and bottom skins, the second layer can only be applied after the bottom and side skin had been installed.
I applied the first layer of the radius before I started on the side skin, the reason only because it was more easy for me to do it this way. I started the radius at the bow and worked from there towards the stern. Both sides where done in tandem to ensure the hull was not pulled out of alignment. I then did the forefoot area at the bow.The radius was laminated out of 6 mm by 200 mm strips of plywood. Strips of 200 mm wide are easy to bend around the radius. One can use wider strips but it is more difficult to handle when working alone. At the bow section (forefoot) I had to work with three narrow layers of 4 mm plywood because of the difficulty in bending the strips around the curve without breaking. The first layer was applied with a small gap in between which will be filled with epoxy when the second layer is applied. The second layer could only be done after the side skin had also been fitted because of the overlap at the flat and radius junctions. The strips were glued with epoxy and screwed to the tangent doublers with stainless steel screws. Time spent on first layer of the radius - 150 hours.

First two layers of the radius.
From another angle
Halfway to the stern.

First layer of 4 mm at the forefoot.
Will be cleaned up before application of the next layer.